Project Bakamitai isn’t just about flashy combat—it’s about living out the brutal, stylish legacy of Yakuza legends. In this guide, we’re diving deep into Kiryu V2 and Saejima, two powerhouse styles that bring iconic heat to the streets. Whether you’re chasing combos or crushing foes with pure brute force, this Project Bakamitai Styles Guide and Tier List will walk you through how to unlock, master, and dominate with each.
Project Bakamitai Styles Guide and Tier List
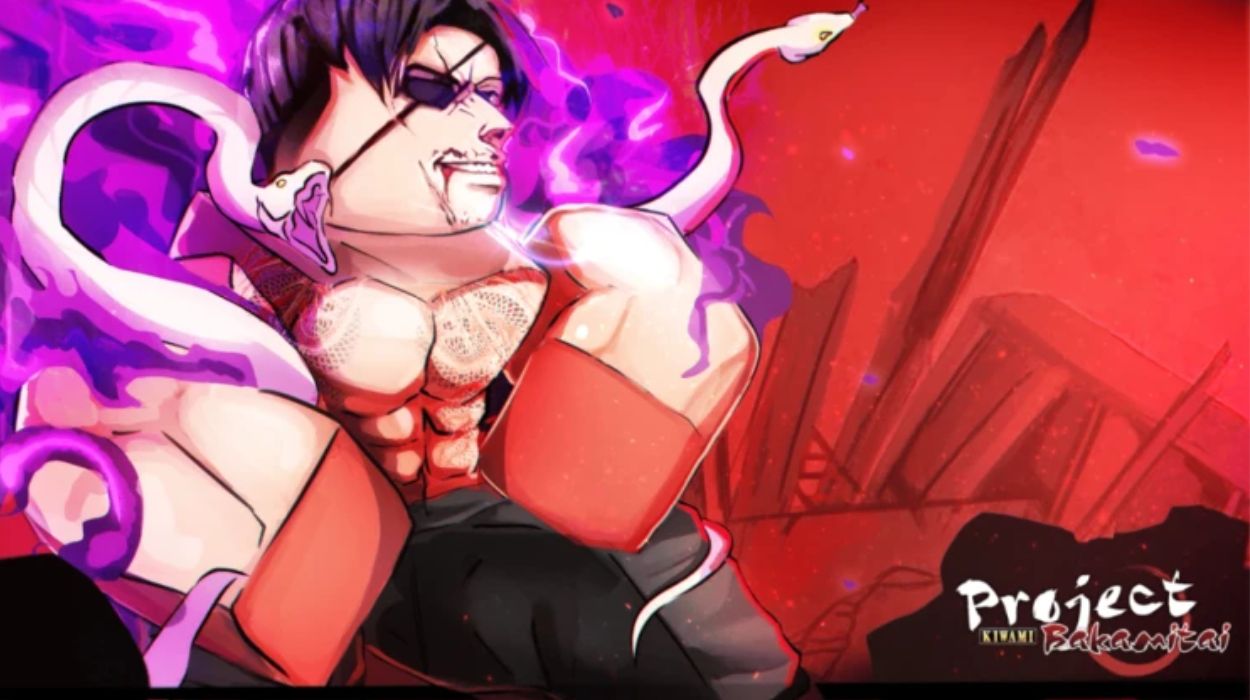
Kiryu V2
Kiryu V2 is the embodiment of grace, grit, and raw power, divided into three unique fighting styles: Rush, Beast, and Dragon. Each style brings its own flavor to combat, offering a blend of speed, strength, and technical mastery.
How to Unlock Kiryu V2:
To begin your journey to becoming the true Dragon, speak to Date inside the Millennium Tower. He’ll assign you a gauntlet of challenges, including:
- Defeating 6 Mr. Shakedown NPCs
- Opening 74 cases
- Beating 98 real players
- Completing 3 Boss Rush runs
- Taking down 8 Majima NPCs
- Defeating 10 Spiteful Apes
To qualify, your stats must be 1 Strength, 1 Durability, 1 Agility, 1 Intellect, and you must be Level 0.
Once unlocked, you’ll have access to three distinct stances you can swap between freely:
Rush Style
Rush Style is built for those who favor overwhelming speed over brute force. Every movement is fluid and relentless, perfect for combo-heavy combat.
- Rush M1 & M2: Light punches come out rapidly, while your M2 is a swift, crushing hook that knocks enemies off balance.
- Rush Barrage: A furious flurry of fists, finishing with a clean left hook. Great for applying pressure.
- Backwards Dash: A slick evasive move that lets you reposition instantly, no strings attached.
- Rush Parry: Perfectly times a defensive stance to absorb an attack and counter with a punishing sternum strike.
- Kick Combo: A 4-hit kick sequence that ends with a knockback—useful for spacing or finishing a chain.
Rush Style is best for hit-and-run tactics and baiting opponents into your counter windows.
Beast Style
Beast Style turns you into a walking wall of pain. Slower than Rush, but every hit packs a punch, and the sheer bulk lets you shrug off aggression.
- Beast M1 & M2: Heavy swings and slower movement, but with devastating impact.
- Beast Guard: Activate a tanky stance that reflects damage and knocks back enemies who dare challenge your guard.
- Crushing Hammer: Jump into the air and come down like a meteor, flattening enemies in your path.
- Beast Throw: Grab and slam your target into the ground—classic crowd control.
- Beast Cyclone: Grab and spin your enemy in circles before tossing them aside like a ragdoll.
Ideal for crowd fights and holding ground, Beast Style is your go-to for dominance through raw force.
Dragon Style
Dragon Style combines the best of both worlds—speed, power, and technique. It’s Kiryu’s ultimate stance for those who want versatility and control.
- Dragon M1 & M2: Balanced combos with solid speed and consistent pressure.
- Tiger Drop: A crouching counter-punch that sends foes flying—a high-risk, high-reward move when timed right.
- Komaki Pupil: A rapid nerve-strike combo ending in a decisive chest punch—precision and punishment.
- Komaki Throw: A reactive throw that reverses your enemy’s strike, flipping them onto the pavement.
- Dragon Taunt: A morale-breaking taunt that reduces enemy damage—a psychological edge.
- Dragon Style rewards mastery. It’s all about perfect timing, punishing mistakes, and adapting to any opponent.
Saejima Style Guide
Saejima’s style channels raw aggression, battlefield control, and relentless energy. This style stands on its own, unlike Kiryu’s tri-stance system, offering a beastly brawler’s toolkit.
How to Unlock Saejima:
Speak to Taiga Saejima at Bakurocho Beach or via the in-game menu. Accept his quest titled “Saejima”, and prepare for war:
- Kill 50 Yakuza Members
- Complete 3 Boss Rushes
- Defeat Majima (3 times via Majima Everywhere or Boss Rush)
- Beat Kiryu in Boss Rush (3 times)
- Upon completion, you earn the “Tiger of Sasai” title and unlock the style.
You must also be Level 0 with 0 points in all core stats to start. Once fully leveled, you’ll have 3,992 points to allocate.
Tiger of Sasai
Saejima doesn’t need finesse—he’s built to dominate.
- Saejima M1 & M2: Fast chains followed by bone-crushing heavy hits—ideal for keeping enemies on the back foot.
- Tiger Dragon Drop: A stunning headbutt, usable as a strike or an evasive tool. Doubles as a counter when timed right.
- Tiger Fangs: A wild pounce that grabs the enemy and slams them with primal force. If others are nearby, they get caught too—devastating in group fights.
Saejima’s style feels heavier and more aggressive than Kiryu’s. It rewards bold players who aren’t afraid to dive in headfirst and brawl their way through.
Majima V2 Style
Majima V2 is pure chaos, energy, and precision wrapped into one unpredictable package. With two unique combat styles—Mad Dog and Slugger—he’s designed for players who love fast-paced aggression and stylish domination.
How to Unlock Majima V2:
To tap into the madness, speak to Majima at Bakurocho Beach. Accept his challenge quest titled “Majima V2” and get ready to prove you can handle the wild dog himself.
Here’s what you need to complete:
- Beat Majima 5 times (via Majima Everywhere or Boss Rush)
- Defeat Kiryu 5 times in Boss Rush
- Win 5 fights using the original Majima style
- Finish 3 Boss Rush runs
- Take down 10 Yakuza NPCs
- Reach Level 0 with no stat points in any category
Once completed, you’ll unlock the “Mad Dog of Shimano” title and gain access to two deadly fighting styles.
Mad Dog Style
This is Majima at his most iconic: fast, reckless, and utterly dangerous. Every move is sharp and erratic, making it hard for enemies to read your next strike.
- Mad Dog M1 & M2: A series of fast slashes using Majima’s signature dagger. M2 ends in a wild, twisting strike with extra knockback.
- Mad Dog Step: A stylish dash that can cancel into an attack or be used to juke out enemies. Pure mobility.
- Mad Dog Parry: A sudden backflip parry that dodges the incoming strike and lets you punish instantly.
- Lunatic Flurry: A spinning blade combo that cuts through multiple enemies, finishing in a downward thrust.
- Mad Dog Lunge: A fast-paced, close-the-gap move with a spinning stab. It’s great for catching runners or punishing missed parries.
Mad Dog is for players who thrive in controlled chaos—darting in and out of range while dealing rapid, high-pressure damage.
Slugger Style
Slugger Style slows things down, but don’t mistake that for weakness. With his metal bat, Majima becomes a walking fortress of punishment. Every hit has weight, and spacing becomes your best friend.
- Slugger M1 & M2: Big sweeping bat strikes that deal knockback and chunk damage. Great for crowd control.
- Slugger Spin: A wide 360-degree spin that hits all nearby enemies and clears space around you.
- Slugger Launch: A one-hit power move that knocks the enemy into the air. Timed right, it can set up perfect follow-ups.
- Slugger Counter: A defensive swing that stops enemies in their tracks. It requires solid timing but rewards you with a clean hit.
- Bat Breaker Slam: Majima leaps and slams the bat into the ground with full force—high damage, big knockback.
Slugger is all about patience and precision. Play it smart, space your swings, and punish mistakes hard.
Kaito
To unlock Kaito’s 4th Style, you’ll need to talk to Kaito and complete a few specific tasks. Start by defeating 25 Thugs around Millennium Tower, then take down 25 Yakuza and 3 Spiteful Apes. Once those are done, you’ll unlock the style without needing any stats—no Strength, Durability, Agility, or Intellect required. Even at level 0, you’re good to go.
To fully unlock all of Kaito’s techniques, you’ll need 3,998 skill points if you’re at the max level of 999. Again, this style doesn’t demand any stat requirements, which makes it a great pick for players looking for power without investing in specific attributes.
Kaito’s M1 combo consists of quick, snappy punches, while his M2 deals a moderate, straightforward strike that’s perfect for controlling engagements. The animations are fast and fluid, giving the style a smooth and reactive feel.
In Bruiser form, Kaito opens up with Bomb Punch, a crouched right hook that sends enemies flying and leaves them wide open for more punishment. His signature Kaito Rocket is a fast, double-leg charge that launches opponents across the ground, but it evolves into Gori Gori Roar when you’re in EX-Boost, turning into a barrage of punches that ends with a powerful wrist-back finisher. With Kaito Gauntlet, he delivers two body punches and finishes with a sidekick that ragdolls enemies away, making it ideal for breaking enemy flow. His EX-Stun Blitz slams enemies into the ground, kicks them mid-air, and looks brutal every time you land it.
What sets Kaito apart is his ability to swap styles on the fly. You can switch between Bruiser and Tank instantly, with zero cooldown. It’s seamless and lets you adapt mid-fight, whether you want to go aggressive or defensive.
When activating EX-Boost, Kaito’s Bruiser form gets a noticeable damage increase, and the Kaito Rocket move transforms into the devastating Gori Gori Roar. On the other hand, the Tank form’s EX-Boost grants reduced damage taken, which is perfect for holding your ground, though the moveset itself doesn’t change.
In Tank form, Kaito’s basic attacks become slightly slower but pack more weight. He can pick up bikes and swing them three times with Deadly Dance, knocking enemies to the ground. Mortal Elbow Drop has him leap forward and slam his elbow into an enemy, flattening them instantly. With Cross Combo, Kaito strings together a left hook and a hammer-fist finisher, ideal for heavy damage. Lastly, EX-Unyielding Counter lets him absorb a hit and respond with a gut punch before slamming his opponent over his head into the ground—it’s one of the most satisfying moves in his kit.
Imaginary Street-Fighting
o unlock Imaginary Street-Fighting, find Ichiban Kasuga behind the Kung-Fu Trainer building and pay him 1,000,000 Yen. Complete his quests, clear the Tojo Clan Raid (3 Yakuza waves), and you’ll unlock Freelancer Stance—a raw, fast-hitting style blending street-fighting and wrestling.
Beat Shadow Musashi using any street-fighting style and meet the stat + imagination requirements to unlock Hero Stance, wielding a bat like a sword with powerful AoE and team-based attacks. This style thrives on adaptability, fast combos, and massive crowd control with skills like Orbital Laser and Essence of Full Swing.
Tenma
Find Tenma in New City Park, next to a tree by the President. Bring him 10 Hotdogs, 10 Takoyaki, 10 Noodle Bowls, and 10 Popsicles from local food stands. After feeding him, defeat Sane Man (15% drop chance) to unlock the style. Requires Level 375 and 500 Strength, 250 Durability, 250 Agility, and 250 Intellect.
Akiyama
Find Akiyama near the Koi & Ripper trainers. To begin, talk to him, then travel to Second City and pay 10 million yen to the Business Man, 1 million yen to the Chef, and 3 million yen to Jesse. Once done, return to Akiyama.
Requires 1 in all base stats, but to unlock all techniques you’ll need 800 Strength, 800 Durability, 400 Agility, and 200 Intellect.
Tatsuya
Tatsuya is hiding behind a building near Titan Rex in New City. To unlock his fighting style, defeat several officers until a message appears telling you to stop. Then, speak with Makoto, defeat the Kinjo Boss, and survive Boss Rush Wave 25. After all that, return to Tatsuya.
You’ll need just 1 point in every base stat and be Level 1 to begin. To unlock every move, make sure you reach 700 Strength, 700 Durability, 550 Agility, and 300 Intellect.
Ryoma
To unlock Ryoma’s fighting style, head to the Japanese shack located at the bottom part of Bakurocho and speak to Trainer Sakamoto Ryoma.
Accept his “Ishin” quest by choosing the dialogue: “This isn’t Tosa… but if you want help I can teach.”
Complete his task by eliminating 50 Yakuza members scattered around the city.
Next, defeat the Kiryu boss in Boss Rush mode to progress the storyline.
After completing the quest, you’ll be rewarded with the “Wild Dancer” title and gain access to Ryoma’s unique fighting style.
Make sure you meet the required base stats: 1 Strength, 1 Durability, 1 Agility, 1 Intellect, and be at least Level
To unlock all techniques, boost your stats to 800 Strength, 800 Durability, 200 Agility, and 400 Intellect.
Once unlocked, master Ryoma’s dual styles—Wild Dancer for speed and crowd control, and Swordsman for raw, powerful slashes.
Daisaku Kuze
You’ll find Daisaku Kuze leaning against a building between Bakurocho Gate and the nearby Restaurant. He’s not just standing there for nothing—this seasoned Yakuza member has a fighting style to pass down, but you’ll need to earn it.
Yagami
Want to unlock the powerful Kamurocho Style from Yagami in City 1? Head to the rooftop of Shawn’s Brazilian Restaurant to meet the trainer Takayuki Yagami. To begin, you’ll need to reach Level 600 and meet the stat requirements: 700 Strength, 600 Durability, 300 Agility, and 200 Intellect. Once unlocked, you gain access to three dynamic fighting styles: Crane, Tiger, and Snake—each with unique EX Moves, Actions, and Boosts.
Crane Style focuses on flashy kicks and crowd control with moves like Sky Dancer and Crane Beast Slayer, great for groups. Tiger Style delivers rapid punches and unblockable finishers like Dragon Crushing Fist, ideal for 1v1 brawls. Snake Style excels at counters and disarming, using precision and moves like Snake Parry and Evasive Blitz. Each style has its own EX Boost Mode, offering buffs like increased damage, dodges, and healing effects.
